You can create groups with a common set of roles on the Groups tab which can be assigned to a number of users.
From the Groups tab, you can:
To add a group:
-
Click the Groups tab.

The Groups tab is displayed.

-
Click the Add button on the Admin Commands ribbon.

A new row is added to the grid.

- Enter a short description and long description for the group in the corresponding fields.
-
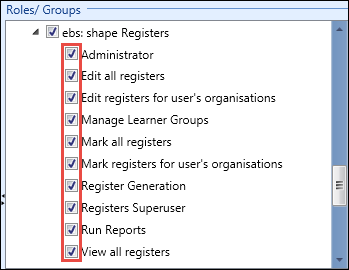
Select or deselect the required check boxes to allocate the required roles to the group in the Roles/Groups pane.
-
Click Save.
The group is added.
To edit a group:
-
Click the Groups tab.

The Groups tab is displayed.

-
Double-click the field of the group you want to update to make it editable.

- Make the required changes to the group details and allocated roles.
-
Click Save.
The group is updated.
To delete a group:
-
Click the Groups tab.

The Groups tab is displayed.

-
Select the group that you want to remove in the grid.

-
Click the Delete button on the Admin Commands ribbon.

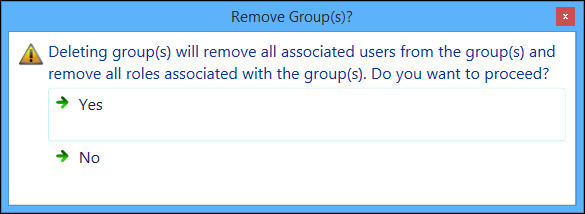
The following message is displayed.
- Click Yes.
-
Click Save to confirm the deletion.
The group is deleted.
Groups can be assigned to a user on the People tab. You can allocate groups to a user when their username and password has been verified.
To assign a group to a user:
-
Search for and select the required user. See Find Users for more information.
The People tab is displayed by default on selecting a user.

-
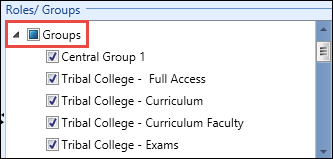
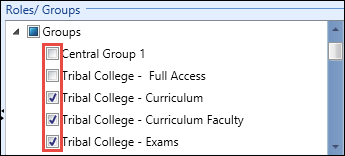
Expand the Groups tree structure in the Roles/Groups pane.
-
Select or deselect the check boxes to assign groups to users.
-
Click Save.
The groups are assigned to the selected user and they will inherit the roles associated with that group.
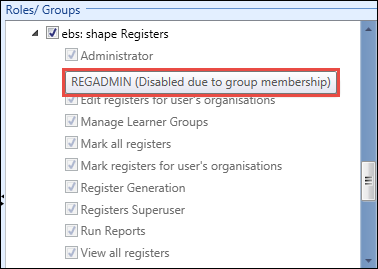
If roles are removed for a user where a group assigns those roles, then they are greyed out on saving and a tooltip displayed when hovering the cursor over the roles to indicate they are disabled due to group membership.
